Tuesday, July 12, 2011

Tapping threads

Now that the block is clean from oily residues and dust, it's time to start tapping threads. It's a really easy procedure but here's a few practical tips anyway.

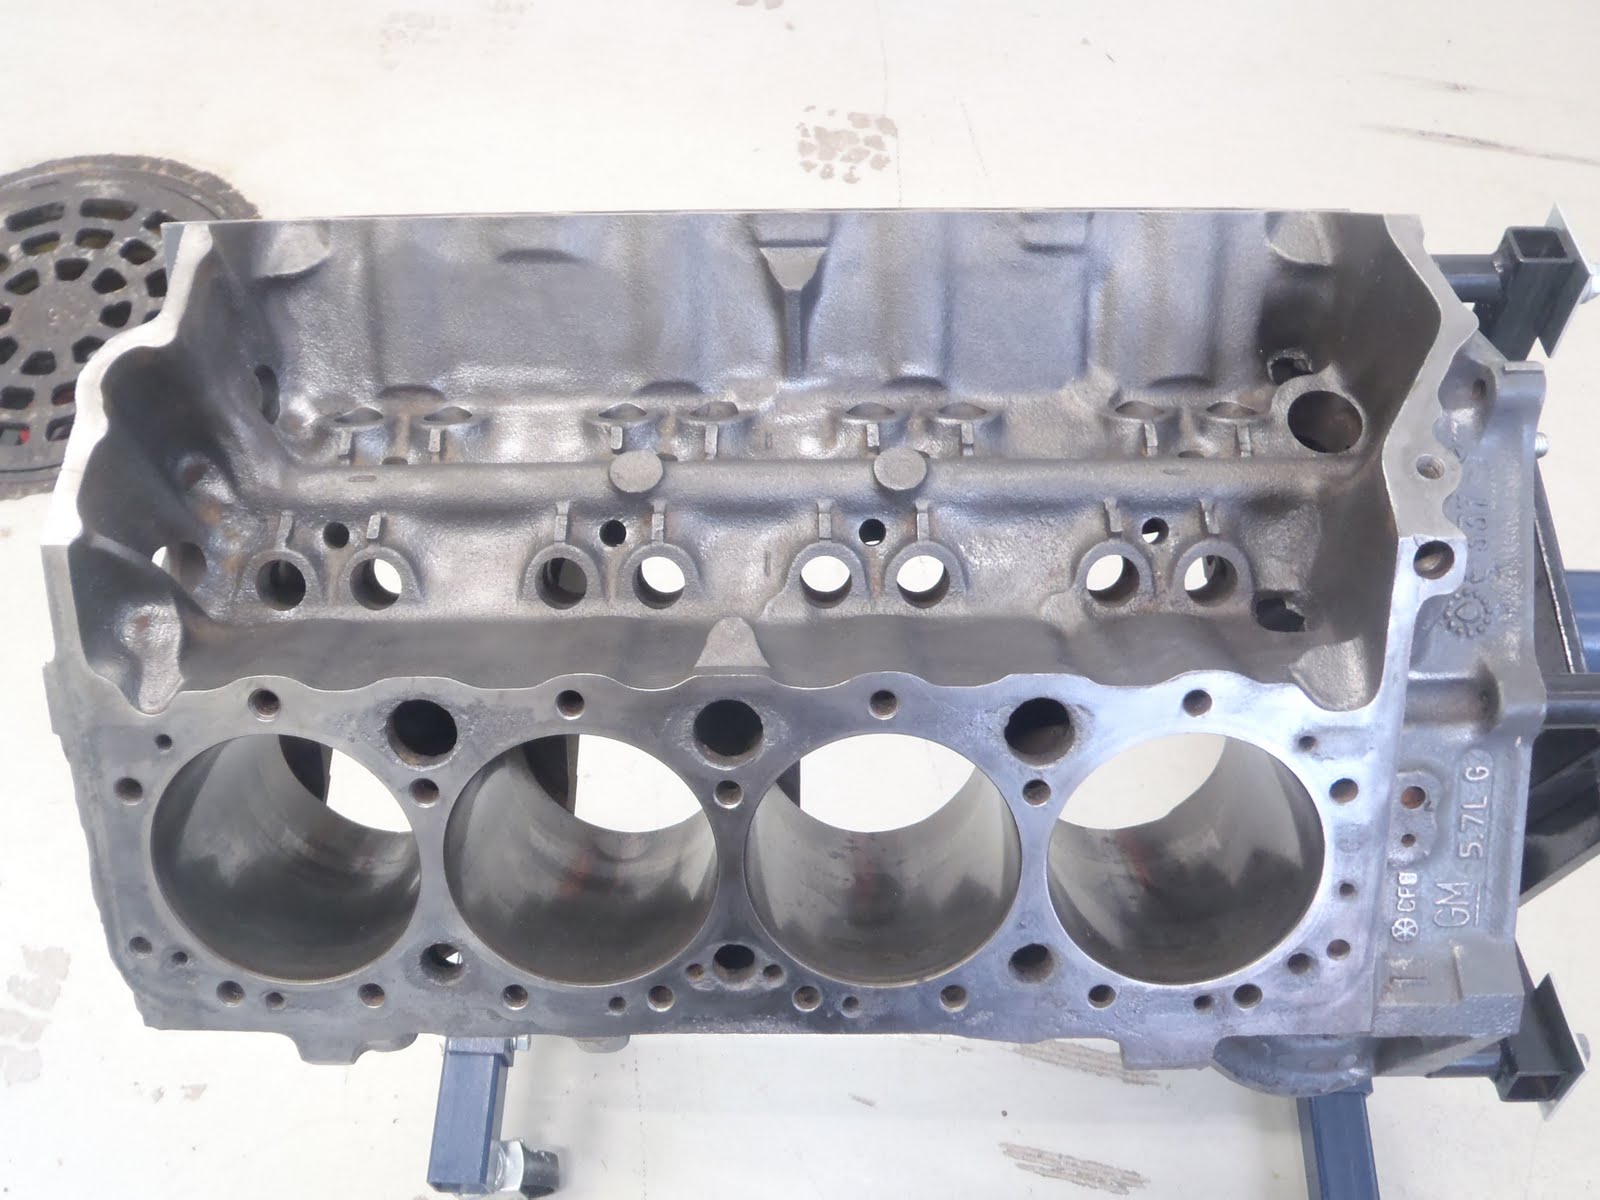
The threads for cylinder head bolts look terrible, the first thing that comes to mind is whether these will ever be usable again:


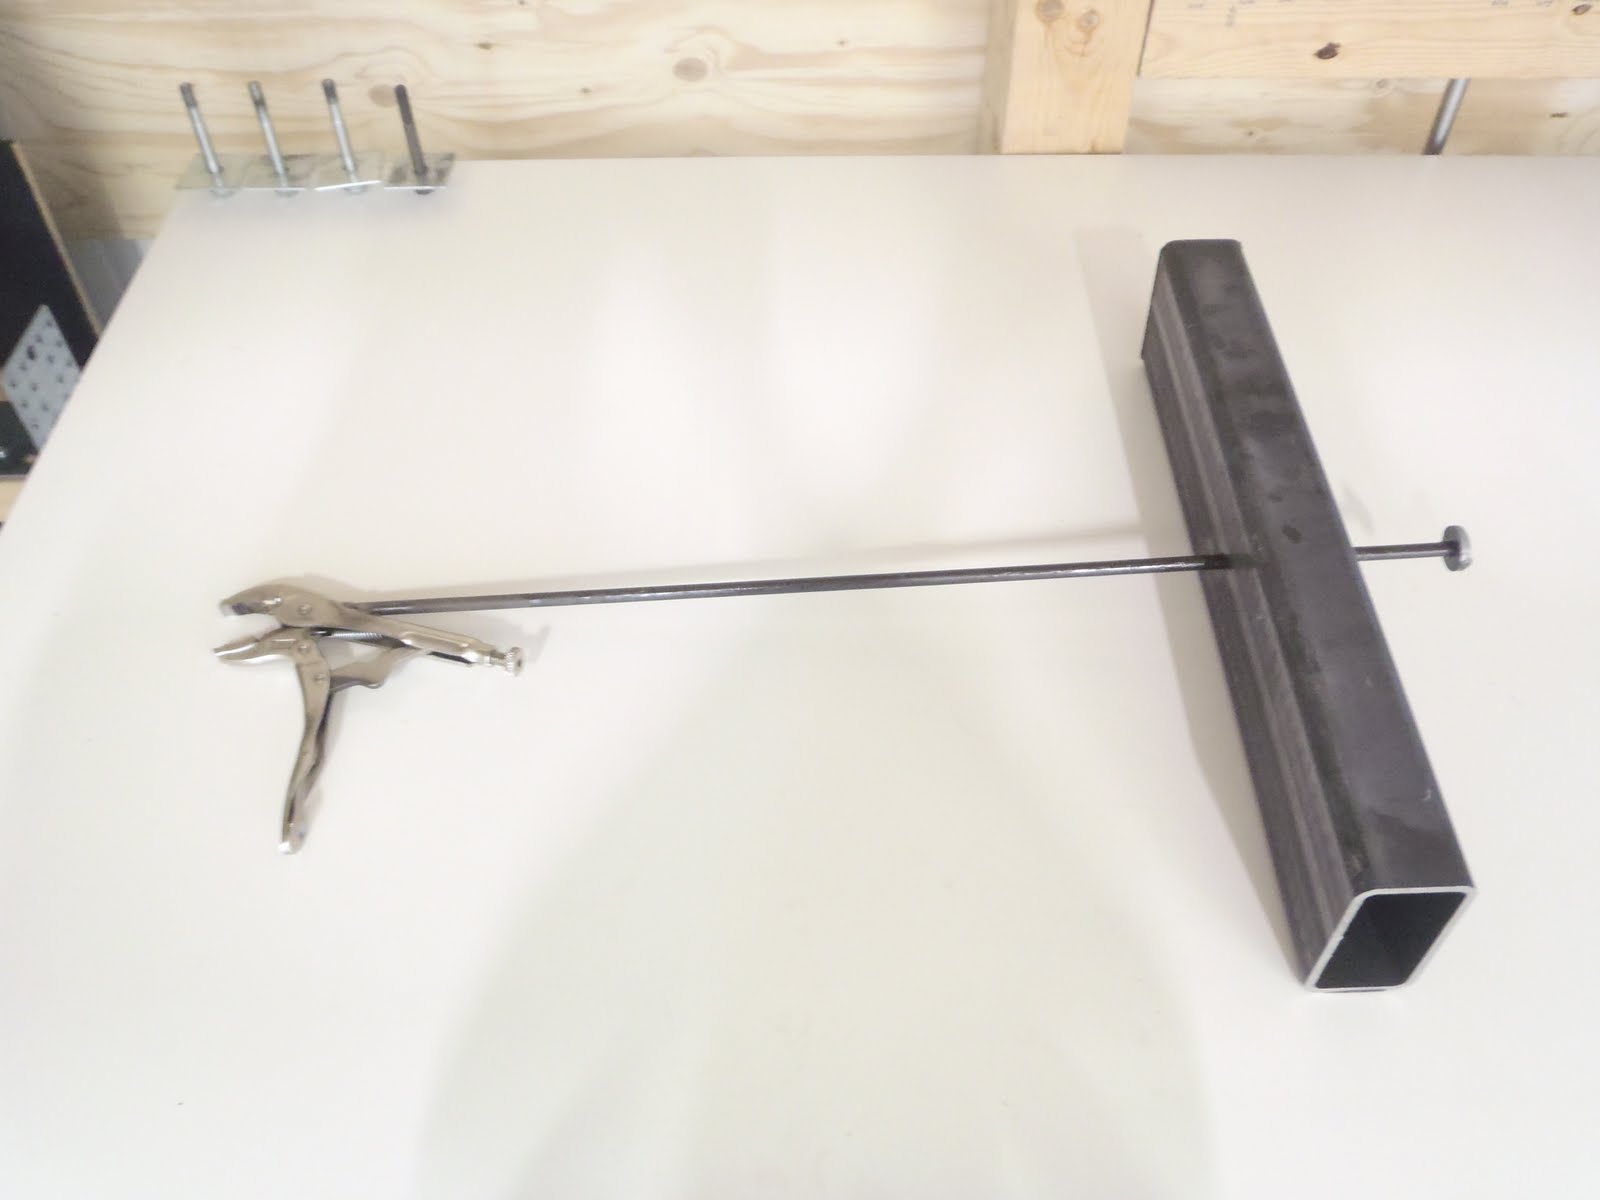
The correct tap is a 7/16" UNC. Tapping requires a lubricant, otherwise you'll need to use too much force and you won't know whether you're tapping the rust away or the threads themselves! So start with a few drops of oil from an oil can, straight into the threads. The tap should start at the threads with minimal force using fingers and light pressure. After the tap starts, no pressure is required at all. I do half a revolution in and then a quarter revolution back and so on and so on until I feel like the flutes on the tap start filling with residue (maybe two to three full revolutions, in this case). Then it's time to take the tap out and flush it in thinner. I keep the thinner, oil can and a shop rag on the lifter valley, there's also a flashlight to check out the progress on the threads. The pliers are for tightening the tap in it's holder every now and then.


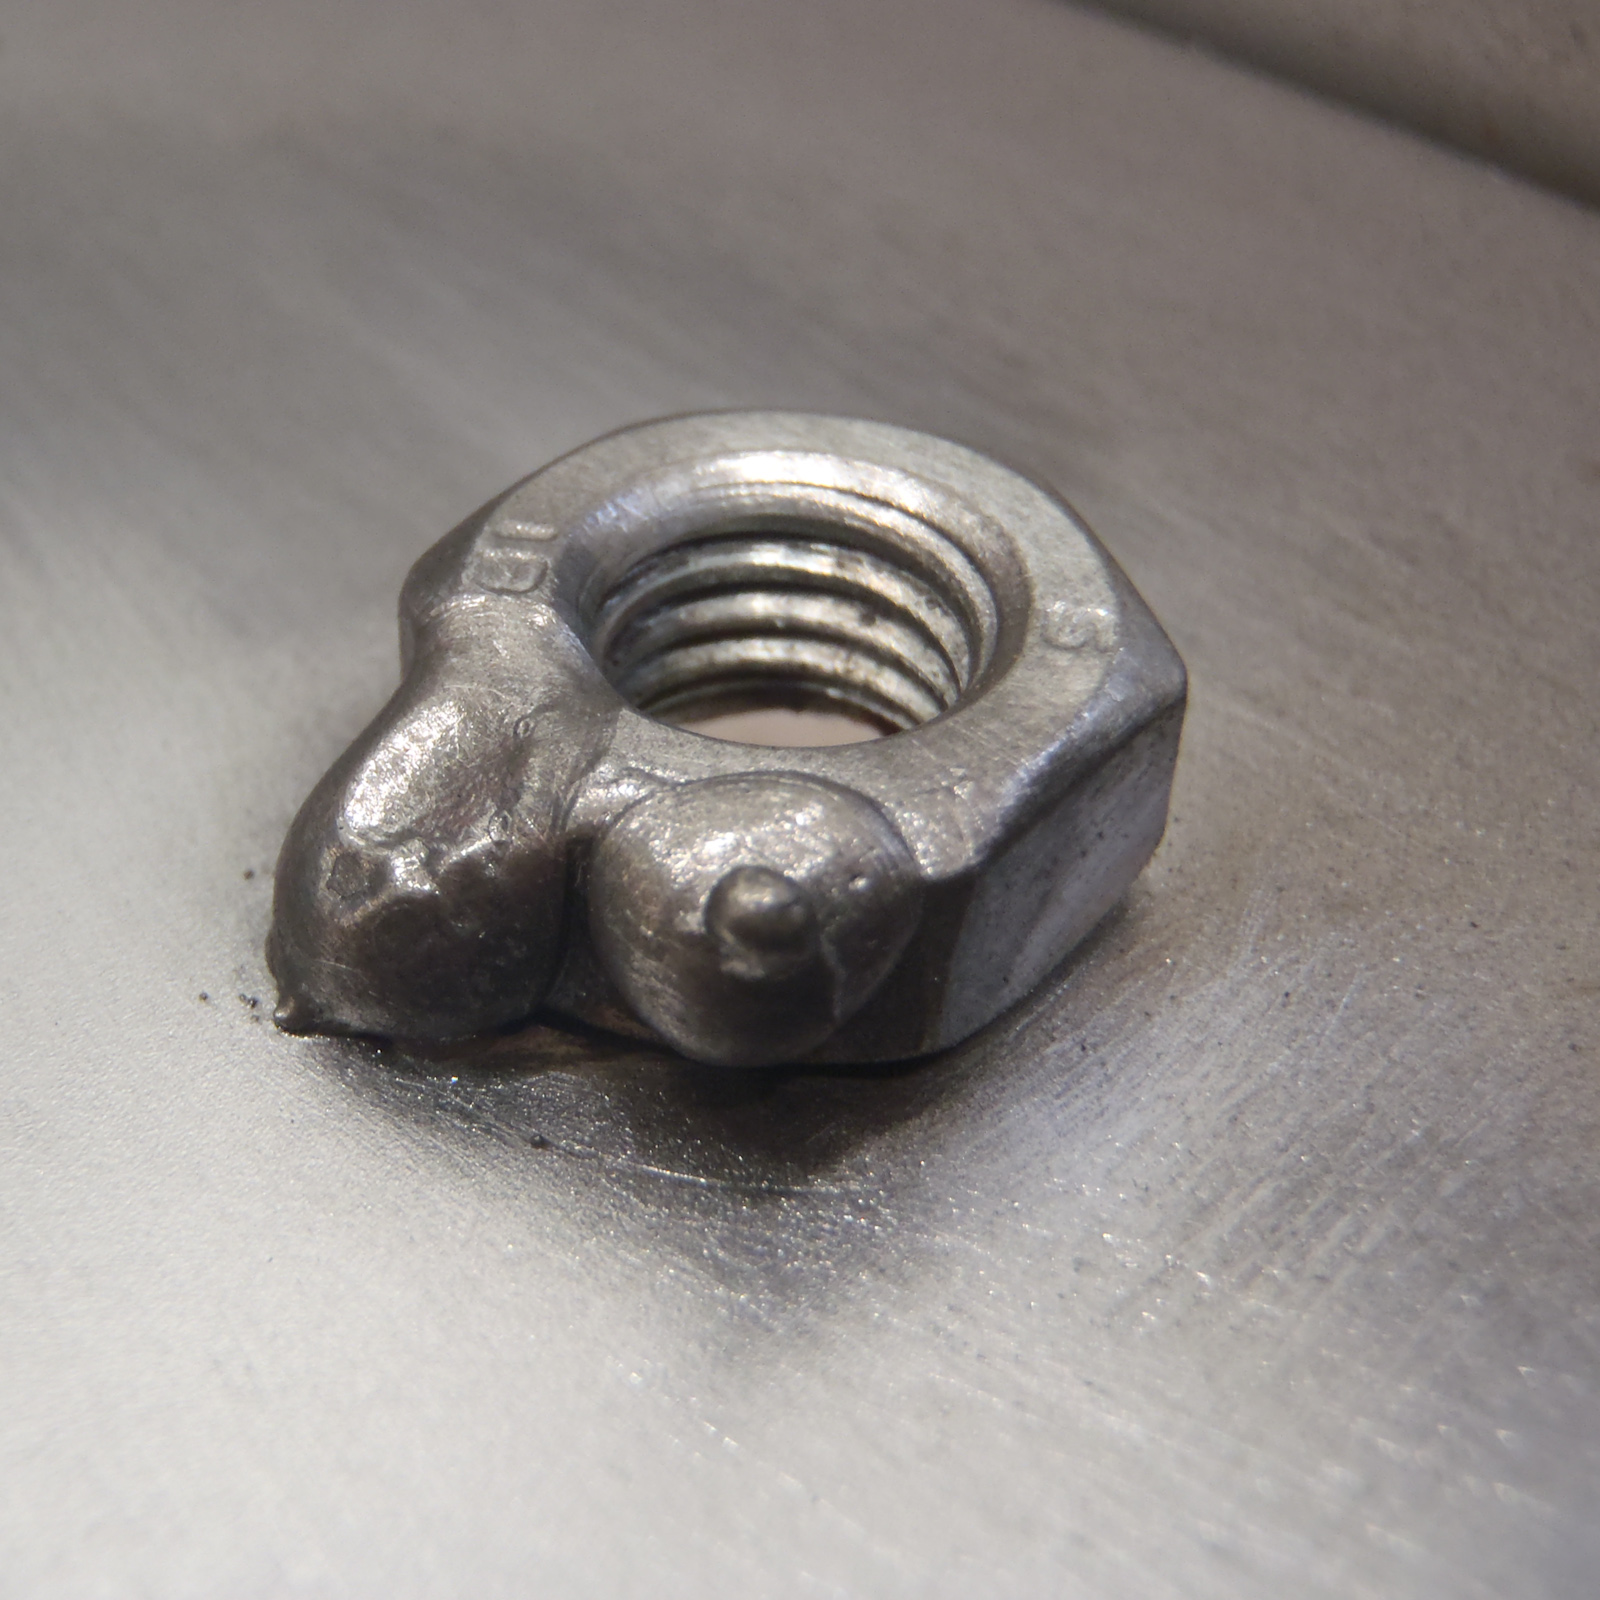
Then just start over with the oil can and repeat the procedure until the threads are clean. For my block, it took maybe three iterations for each thread. The procedure works:


Now that more or less virgin metal is exposed, it's again time to give a light coat of motor oil to protect from rust. I do this by giving a 7/16" bolt a few drops of oil into the threads and then doing it in. It needs to go using finger force, otherwise the job is not done and you need to take the tap back to the threads again.


A small block chevy has 17 bolts for each cylinder head so it took me about three hours to do both banks.

Tuesday, July 5, 2011

Removing flash rust & old paint

The next step in cleaning the block is to get rid of the flash rust and the paint residue. Why? First of all, even the small amount of flash rust inside the block will come off at some point, be carried along with the oil flow and find it's way between moving parts to do damage. Or in the oil filter, to reduce it's filtering capacity. The paint is important to remove so a new, fresh one can be applied to protect from outside elements (water, road salt, acids etc).

Removing flash rust, paint and even thicker layers of rust that may have formed over time is easy, provided the block is completely free of oil and moisture. You just take two of the most common wire wheels, attach them to your hand held drill and start a one-hour attack against the block!


A lot of dust and paint particles will be flying around, it's a messy operation, so I did this outside as well. The block is cast iron and will not be harmed by the wire wheels, no matter how hard you work. That goes for the block deck (cylinder head surface) as well. The wire strings are just not hard enough to deform the iron or scratch it. To be on the safe side, I was careful around the cylinders, just in case. They need to be honed with a specific tool, so don't go there.

After I felt I was done, I blasted the dusty, bone dry block with compressed air. Here's the result:


Starting to look like something that could be a working engine some day? Yes :) Before declaring it good, I will look into quite a few issues yet, so let's be happy that these work phases were carried out succesfully but not be too jubilant yet.

By the way, the block is now more or less exposed cast iron. For all practical purposes, it's vulnerable to water and moisture in the air, prone to rust again quite easily! To prevent this, I took a rag and quickly dipped it in engine oil, then wiped down the block with it. Just a thin film of oil will be enough to protect it, especially as it "lives" in a warm garage.

Cleaning the block in a caustic bath

Most of the rebuild books will tell you to take the block into an engine shop to be "hot tanked". Well, that's no fun. Here's an alternative to that.

A caustic solution will dissolve the oil and grease deposits in the block, most importantly within the oil galleries where it's not possible to clean effectively otherwise. It will also remove or at least effectively loosen up the old layer of paint in the block. After the bath, the block will be slimey from the solution and needs to be hosed down with a lot of water to mechanically flush away the caustic.

The caustic will not remove rust, no matter what concentration is used. That's chemistry, you need an acid to convert rust..

(Beware: the solution is dangerous to human beings so be careful with it)

My tank rests on two blocks of metal to take it off the ground, under it but not visible is the heating plate. I used the engine hoist to handle the block, this was very convenient!


After experimenting with smaller objects, I decided to use a 3% solution. The temperature of the solution was around 70 degrees Celsius (an estimate based on the fact that I could not hold my hand to the drum for more than a few seconds). The overall time in the solution was 48 hours. This treatment was enough to take out all of the oil deposits in the block and a great majority of the paint outside. Using a 10% solution would surely have been more effective on the paint but that's just a bit extreme to me... The caustic is dangerous enough in 3% concentration...

As I mentioned, the block will be slimey from the caustic after the bath. I hoisted it outside and gave it a 10 minute shower from a garden hose.


Most of the paint peeled off at this point. There was not much oil left, it ends up as a light brown substance on the bottom of the drum. I drained the drum into the sewer for two reasons: 1) the caustic I used is sold as drain cleaner so it's supposed to go there and 2) this sewer had a oil separator.

Immediately after showering the block I thoroughly wiped clean the cylinder walls and gave them a thick coating of engine oil to protect against even the smallest amount of rust. This is important, the cylinder walls are virgin cast iron and will begin to rust in seconds, yes seconds, when not immersed in water anymore.


With the engine back in it's stand, I started my compressor and blasted the block inside and out to dry it. There's a limit to how dry it can get this way, since the compressed air has moisture in it and you can't blow water off the blocks microscopic-sized pores anyway. To accomplish that, I placed the block next to an electric heater (2000 Watts) and left for lunch & errands. The heat will quickly soak into the block and the rest of the water will evaporate.

The result is a bone-dry engine block (for except the cylinder walls which were coated with oil):


No oil, grease, or water! This is what I had been waiting for, to have the right tools and the right process to do this properly. The block does not look that clean because of the flash rust, but that's a layer just a few micrometers deep. It's easy to handle, more on that next time.

Sunday, June 26, 2011

Removing block deck dowel pins

Before the block is ready for the caustic bath, you need to remove all of the oil gallery plugs etc etc. Since I got started, I decided to get rid of the dowel pins too. Practically always, they are so tight that they can't be pulled out using normal hand tools. Especially so with the marine block that has stood in storage for years after it's heads have been pulled:


I gave the pins a lot of heat and a lot of rust penetrating oil the day before pulling them out. I also smacked them from all four sides with a screw driver&hammer - all of the above to try and break the bond between them and the block. I don't know if that contributed to the end result but I do think so.

Next, using an angle grinder with a cutting disc, I carefully ground two grooves on the opposite sides of the pins, like so:


This provides a grip for the pulling tool, an improvised sliding hammer. That is a vise grip, steel bar welded to it and a weight. Here's a picture of the tool's gripping end (if you look closely, you can see that I ground the jaw tips a bit so that they would perfectly match the grooves in the pins):


The bar needs to be welded parallel with the jaw's centerline so the tool would pull in the right direction. I took the nearest heavy piece of metal, approx 5Kg square tube, and drilled it with holes to accept the bar. Finished off by welding a stop to end of the bar and greasing the bar:


Finally, here's how easily the dowel pins come off with the correct tool:

Saturday, May 28, 2011

Finishing the caustic soda drum

I wanted to have a way to empty the caustic from the drum, something that would not put me in danger of getting it all over me. It's dangerous stuff. So I drilled a 11mm hole in the bottom and welded a 10mm nut inside. It's a good practice to put a bolt on and tighten it down for welding. This will keep the nut in place while welding. Just make sure you don't weld the nut into the bolt! Not hard, really.


The nut does not need much, here I actually totally missed the first one, it's on the side of the nut! (I've wire brushed after welding, that's why it looks so neat).


This will then accept a 10mm bolt from the outside of the drum, from the bottom to be exact. It's a good idea to use a brass washer between the bolt and the drum, this will seal much better than a normal washer.

To finish the setup, I placed the drum on two metal pieces to be able to fit a cooking plate under it (needs to be flush with the bottom of the drum). I intend to lower the block into the caustic using an engine hoist, and that's how I'm going to lift it out, too.

Sunday, May 22, 2011

Starting out with a new motor

My next project engine is a 350cid Chevy I bought whole, for 40€. It's from a boat and the seller told me it's not going to be any good anymore. It had been standing in a warehouse for several years, waiting to be scrapped. When I took it apart, oil and water were mixed in the oil pan.

I'm going to go ahead anyway, testing new tools and methods I've learned from my first engine project. I want to understand, step by step, the condition of this engine and to see if it's worth rebuilding.

The first step is to completely clean the motor inside out. I'm going to cook the engine block in a caustic solution to get out all organic material, oil residue etc. For this, I need a big tank.

I start out with an empty oil drum, I saw it in a yard driving past a house, stopped by and asked if I can have it. I could have it. It had about six liters of oil in it, I poured it out and let the rest drip overnight.

Before cutting the top open with a angle grinder that makes sparks, it's good to fill this kind of a container with water to prevent fumes from catching fire.


I filled it to within 5cm of the top. Then, used an angle grinder to take the top off.


With the top off, the drum's structural strength is a fraction of what it used to be so it's best not to try and tilt the drum to get the water out. A girlfriend with a bucket is the best approach.